How to Create a Wedding Mood Board: A Step-by-Step Guide To Visualize Your Dream Wedding
Planning a wedding is a beautiful whirlwind, but it can quickly feel like you’re drowning in a sea of Pinterest pins and fabric swatches. Before you book a single vendor or buy a bouquet, you need a North Star. That’s where the Wedding Mood Board comes in. A mood board is more than just a collage; it’s a visual tool, digital or physical that captures the desired aesthetic, theme, and color palette for your wedding and helps you communicate with your wedding planner and vendors, and ensures your big day feels cohesive.
Creating a wedding mood board is one of the most powerful steps in planning a wedding because it transforms scattered ideas into a clear, visual direction. Many couples begin the process with a vague sense of what they like perhaps a color, a dress style, or a venue type but struggle to articulate it. A mood board bridges that gap by bringing together your abstract ideas like elegant, rustic, or modern images, textures, colors, and design elements into one cohesive visual story. It not only helps you understand your own preferences better but also allows vendors from your florist to your baker is aligned with your vision and execute it accurately.
Step 1: The Digital Scavenge
The first step in generating a wedding mood board is defining the overall mood or feeling you want your wedding to evoke. This doesn’t require perfection, just clarity. Think of descriptive words that capture your ideal atmosphere, such as vintage romantic, modern, minimalistic, or luxurious. These words will act as your foundation and guide every choice you make moving forward. Without this anchor, it’s easy to get lost in endless inspiration and end up with a mix of conflicting styles. Your mood should reflect both your personality and the experience you want your guests to have.
Don't limit yourself to just wedding photos or wedding trends. If you both love mid-century modern furniture and spicy margaritas, let that be your starting point!
Step 2: Gather Your Inspiration
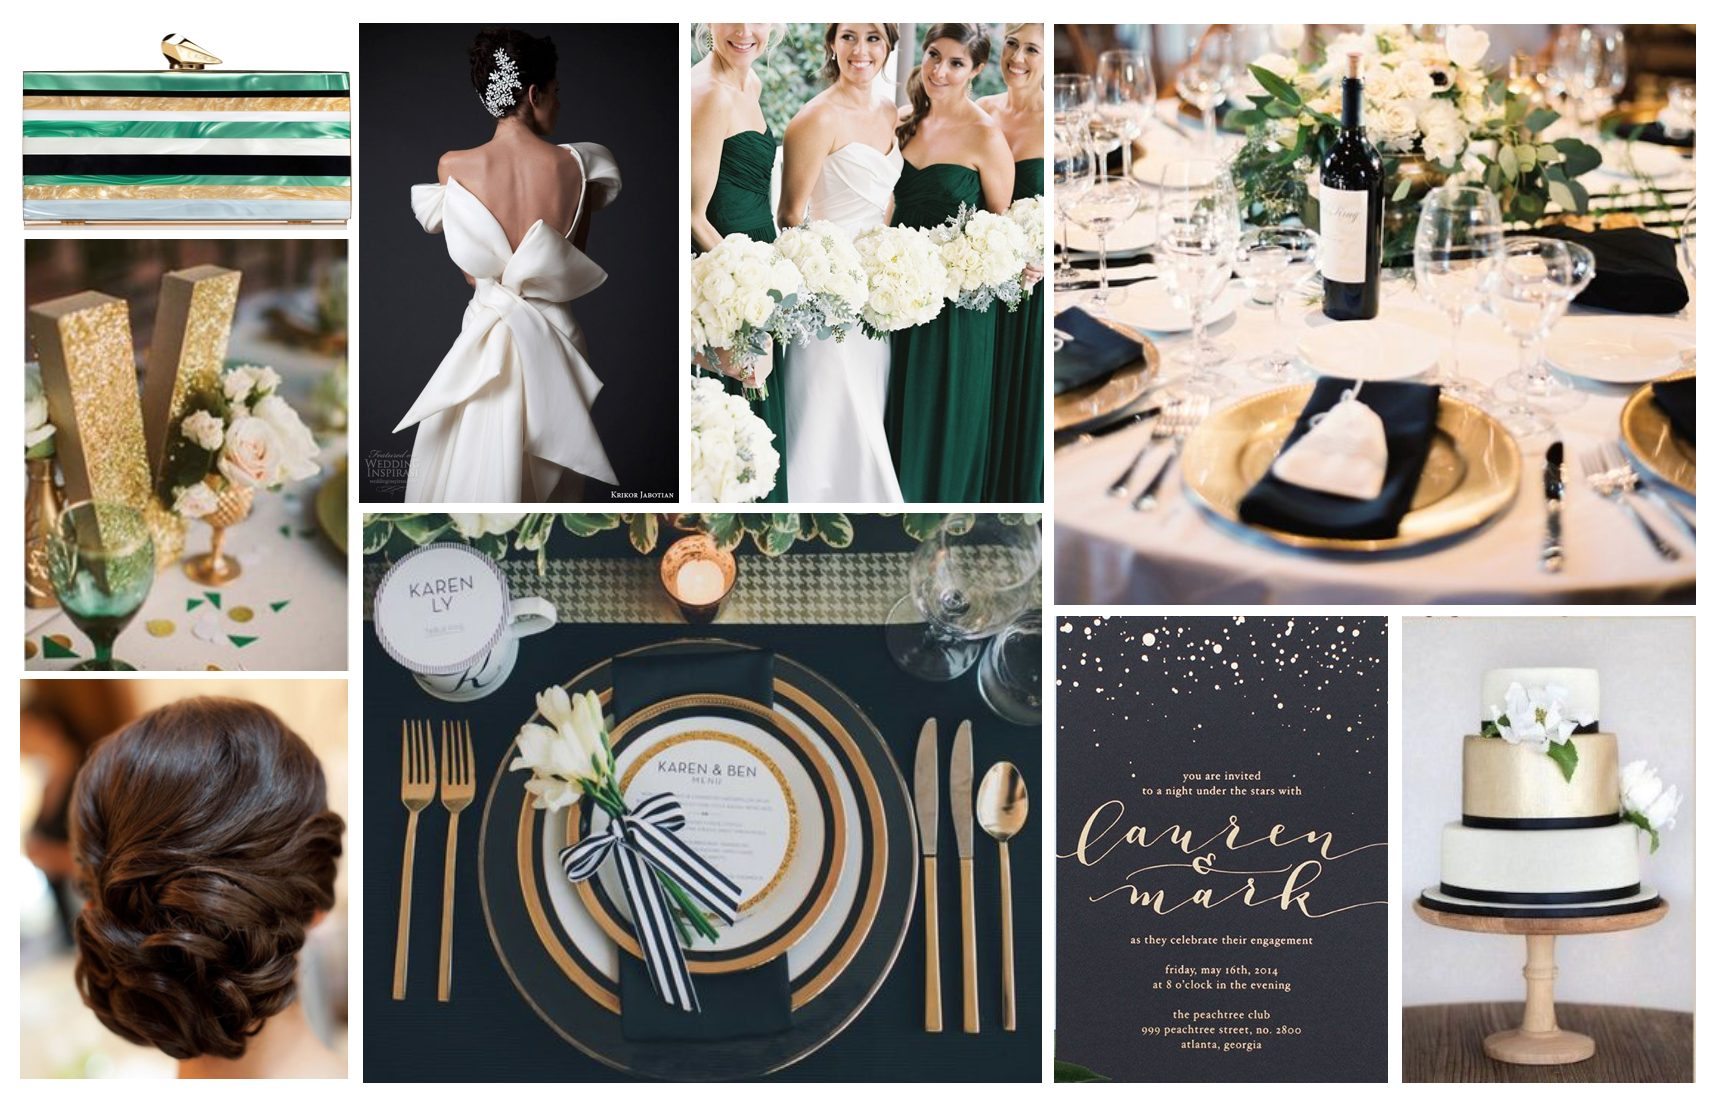
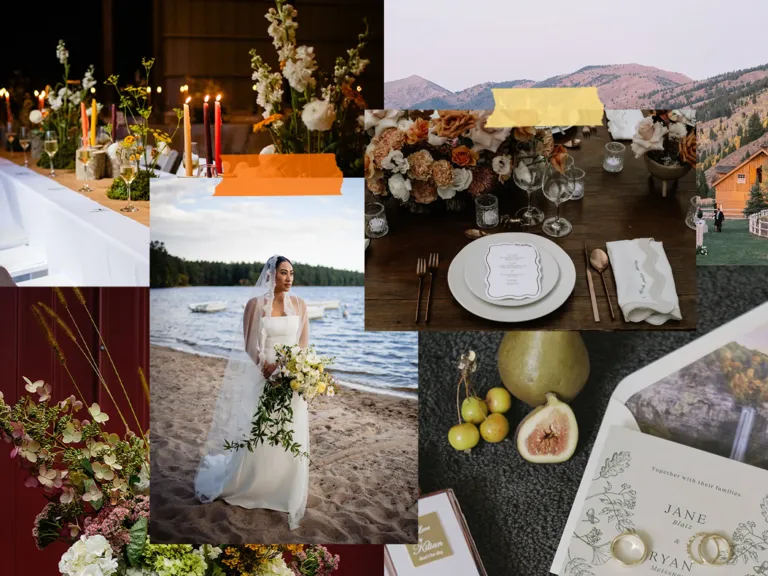
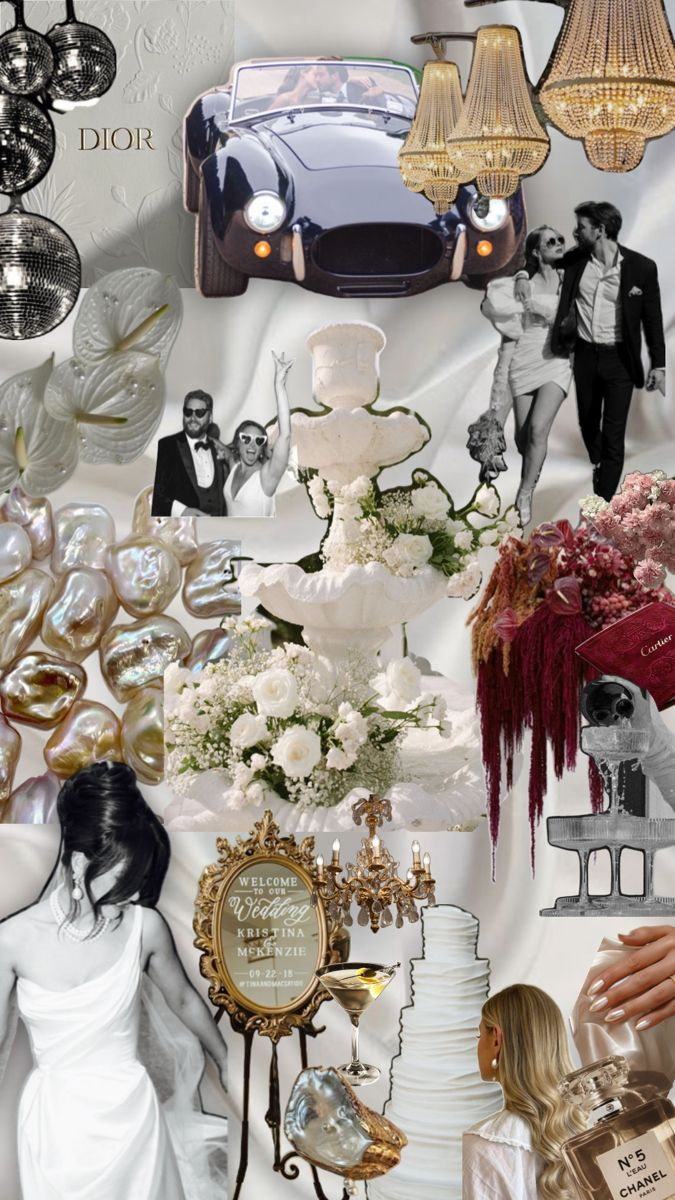
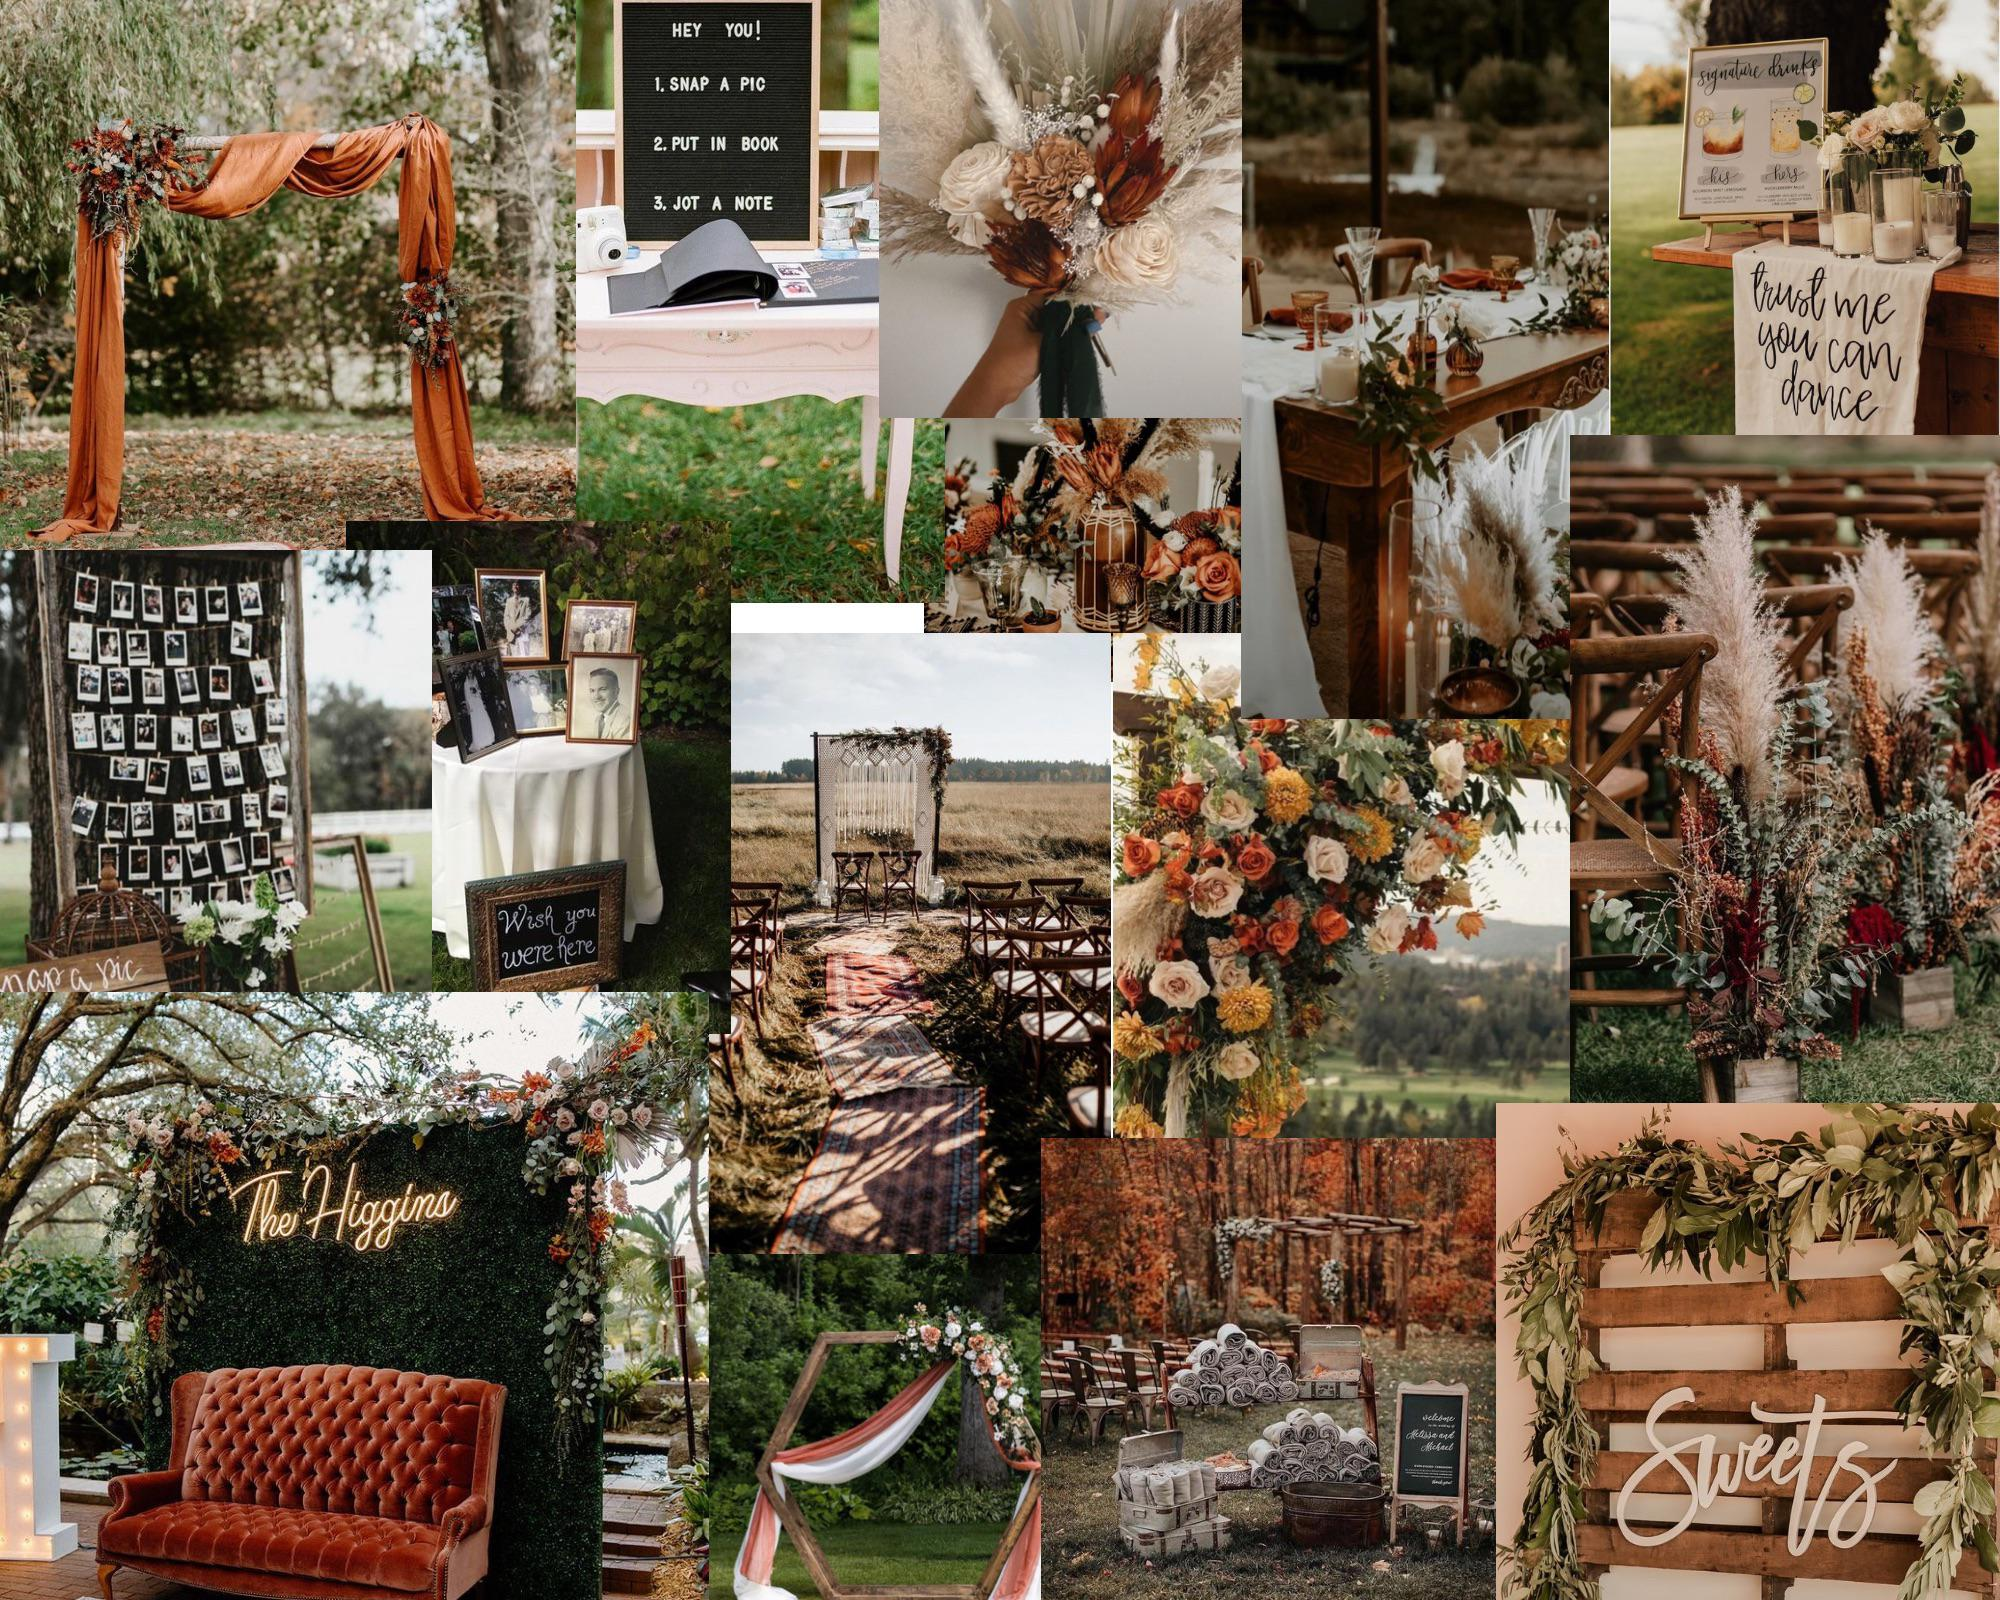
Now, start the hunt. Once you have your vibe, the next step is selecting a color palette. Colors are the backbone of your mood board because they unify all the elements visually. A good palette typically includes a base color, one or two complementary tones, and possibly a bold accent. For example, a soft and elegant wedding might feature ivory, blush, and gold, while a more dramatic aesthetic could lean toward emerald green, black, and metallic tones. It’s important to choose colors that not only appeal to you but also work well with your venue and lighting conditions.
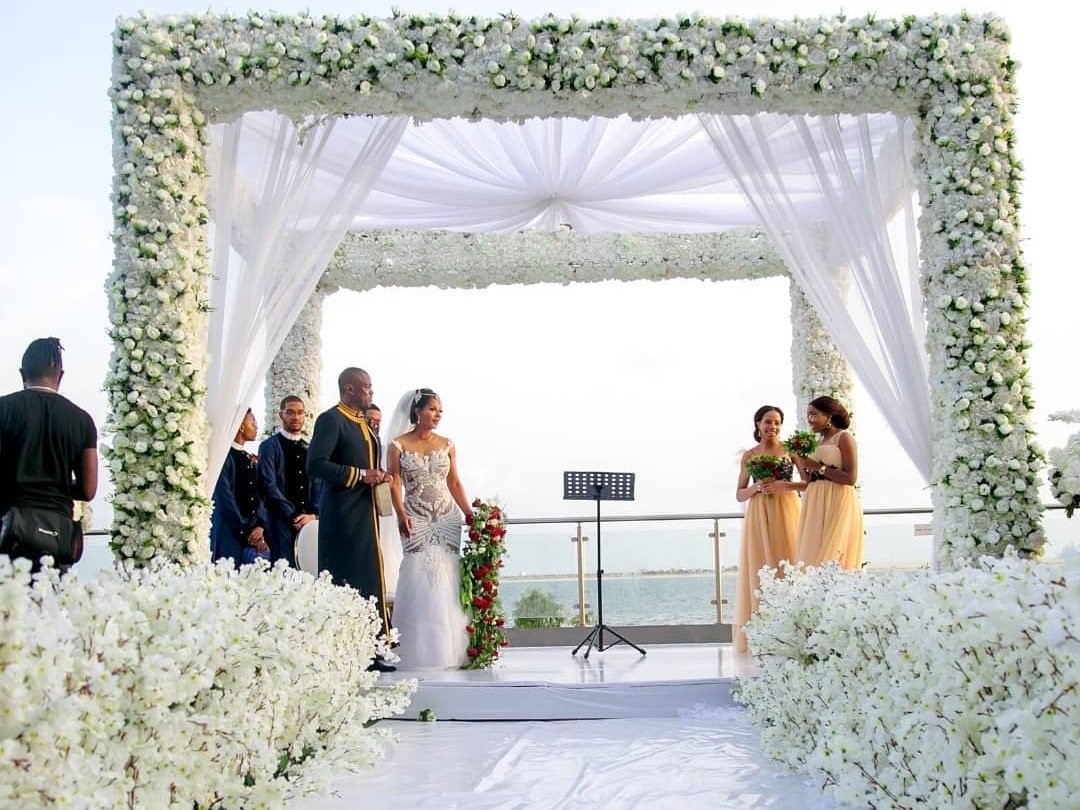
After establishing your colors, begin gathering inspiration images. This is where creativity flows freely. Look for images that resonate with you emotionally, even if you’re not sure why. Focus on key areas such as bridal fashion, groom attire, décor setups, floral arrangements, table settings, lighting, and even photography styles. At this stage, quantity matters more than precision, collect broadly, then refine later. The goal is to build a pool of ideas that you can draw from as patterns begin to emerge. But don't just look for wedding photos, look for textures and feelings.

Step 3: The Great Curation (The "Audit")
As your collection grows, start organizing your inspiration into categories. A well-structured mood board doesn’t just look pretty but tells a complete story. Include visual breakdowns for fashion, décor, venue style, beauty, and small details like stationery or cake design. Each category contributes to the overall experience, and seeing them together helps ensure consistency. For instance, a minimalist gown might clash with overly extravagant décor, while a bold, glamorous dress pairs better with dramatic lighting and rich textures.
Look for the patterns. Do you see a lot of gold accents? Are most of the photos outdoors? If you have ten photos of rustic barns and ten photos of sleek art galleries, you have to choose one direction. A mood board with too many ideas is just a mess—aim for a focused story.
Step 4: Define Your Palette and assemble
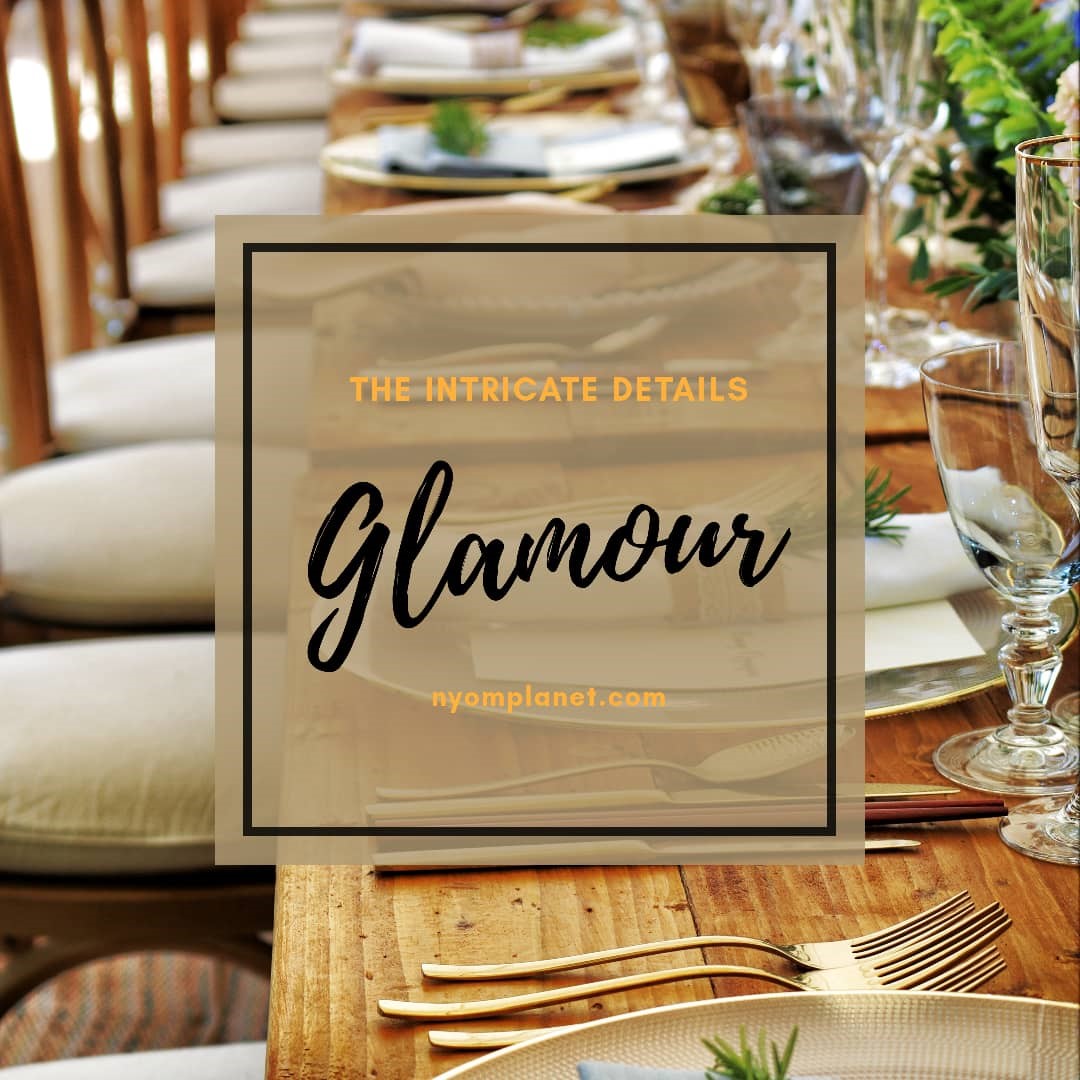
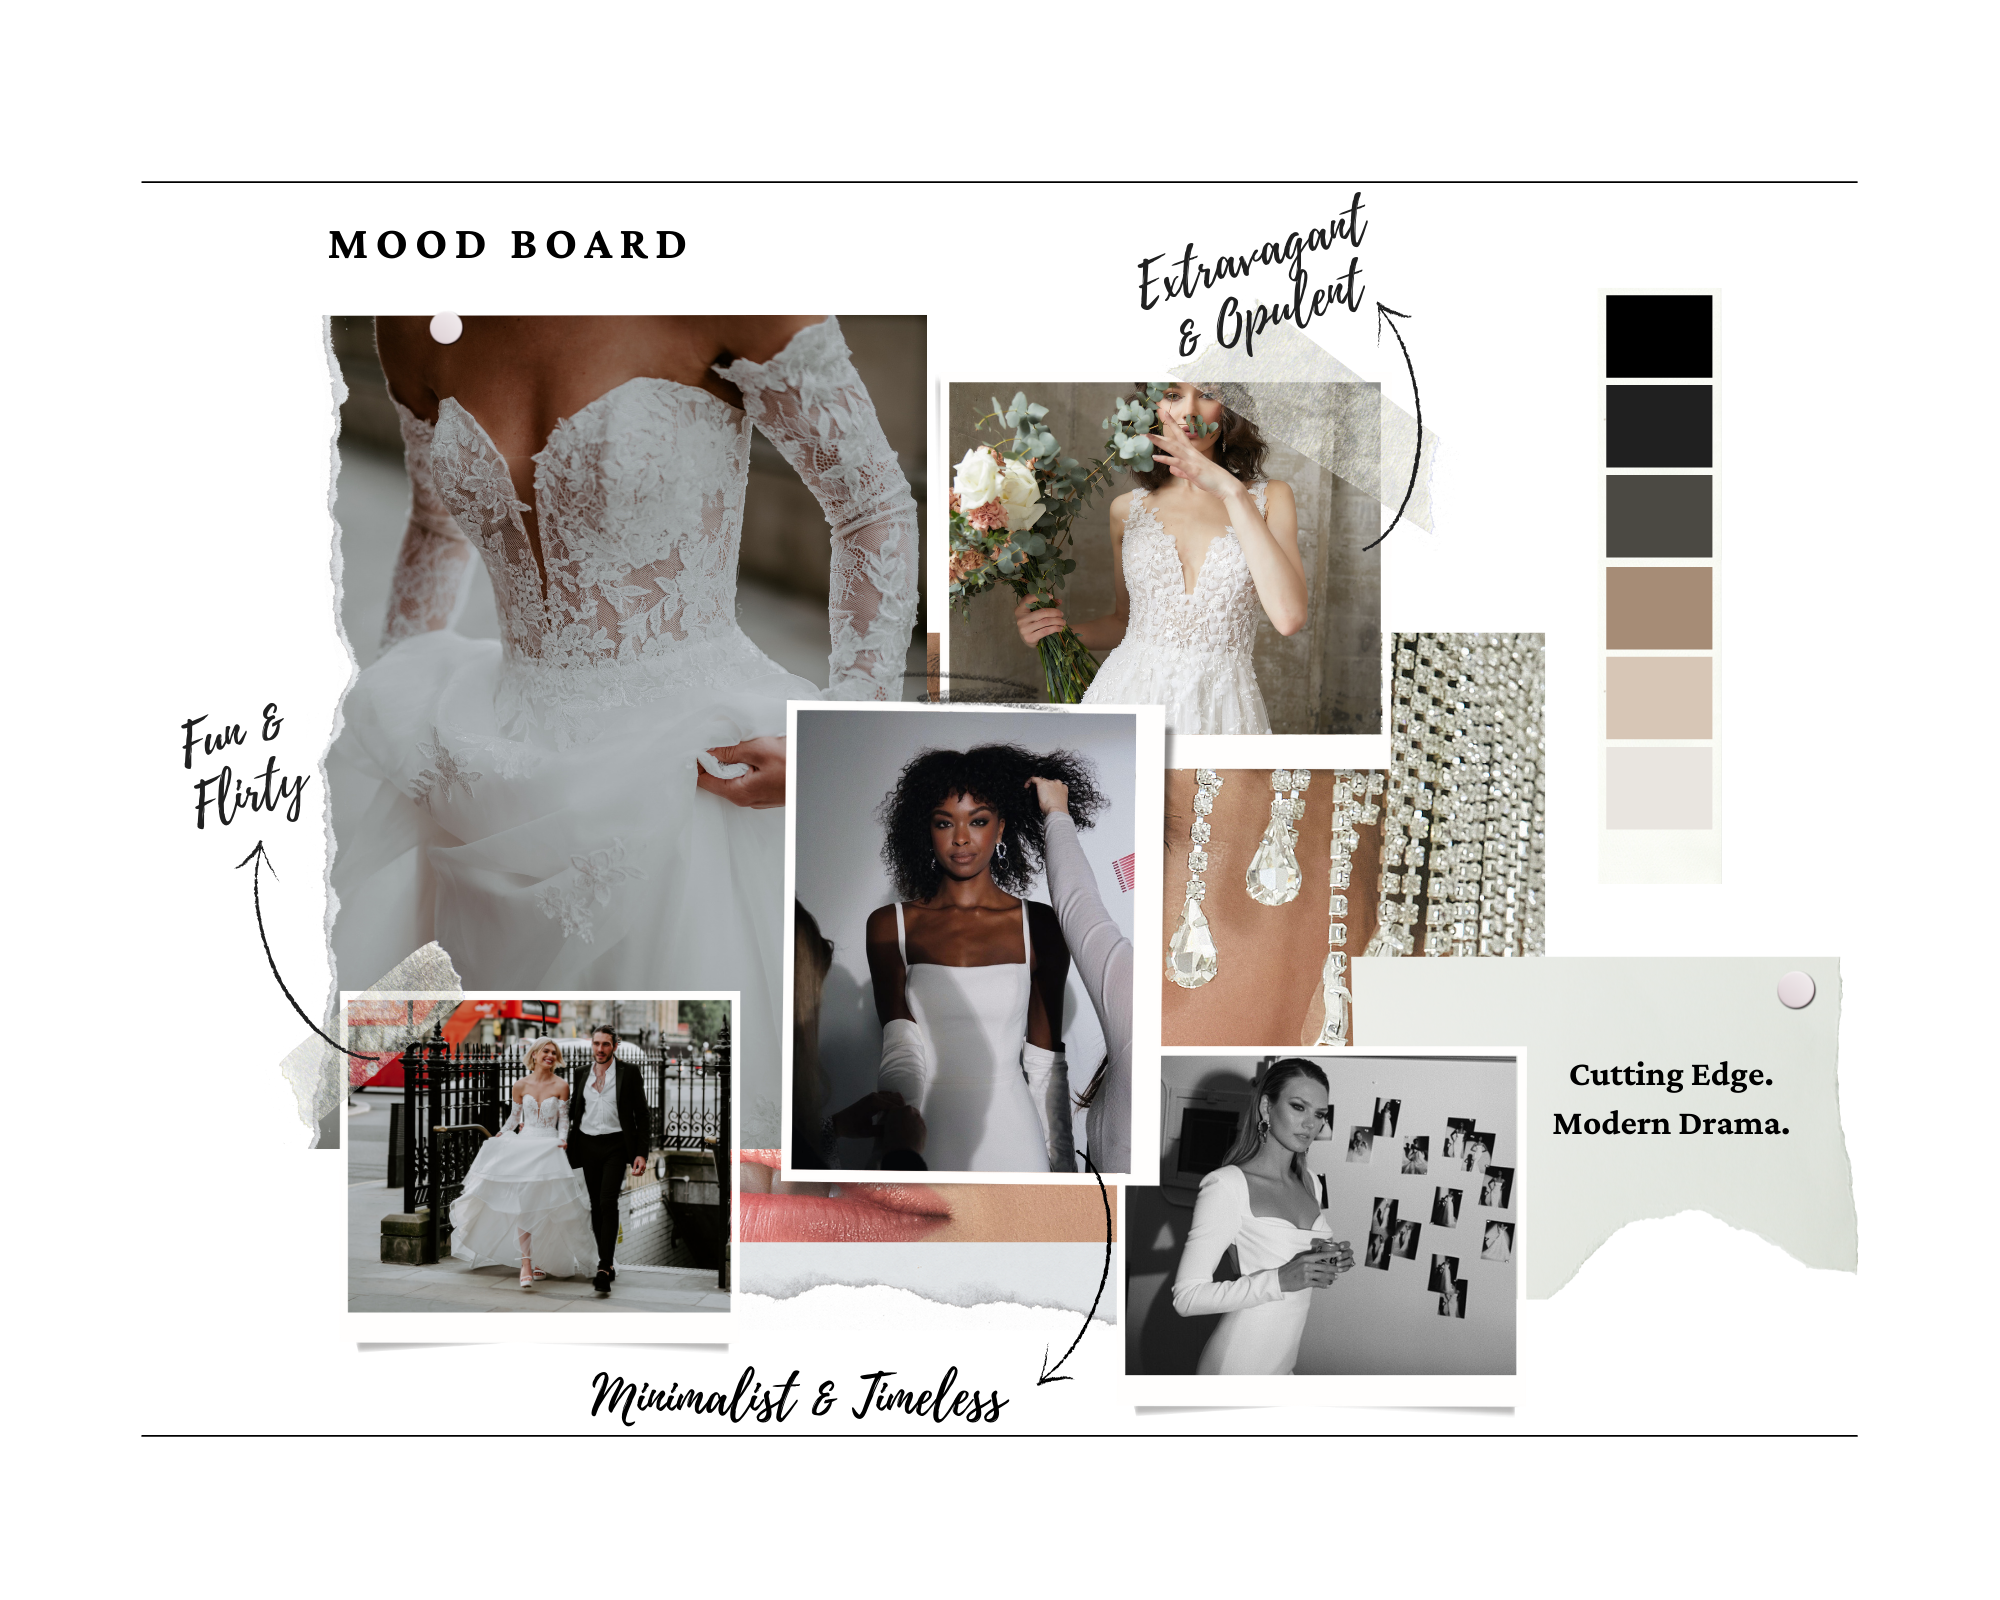
With your elements in place, the next step is assembling the actual mood board. This can be done digitally using design tools like Canva, Adobe Express or even physically by printing and arranging images on a board. Keep the layout clean and intentional, avoid overcrowding, and aim for a balanced composition. Around eight to fifteen well-chosen images are usually enough to communicate your vision effectively. The goal is not to showcase everything you like, but to highlight what truly represents your wedding style.
How to arrange it:
Place your largest "vibe" photo in the center. This should represent the overall atmosphere.
Add a "Texture" shot. Think silk ribbons, raw wood, or flickering candlelight.
Include a "Detail" shot. A specific flower or a font style.
Leave white space. Don't crowd the images; let the board "breathe."
Once your board is assembled, take time to analyze it critically. Look for patterns in color, texture, and mood. You may notice that certain elements repeat, while others feel out of place. This is the moment to refine your board by removing anything that doesn’t align with your core vision. Editing is a crucial part of the process because it sharpens your concept and ensures that every element works together harmoniously.
Step 5: Use Your Board as a Filter
Once your board is finished, it becomes your "Yes/No" filter. When you’re looking at a cake or a specific venue, hold it up against your board. Does it fit the story? If your board is "Minimalist Urban" and you’re looking at a "Shabby Chic" lace runner, the board tells you to put it back.
Your completed mood board becomes a practical tool for collaboration. Sharing it with your vendors such as decorators, designers, and photographers helps them understand your expectations without relying solely on verbal explanations. It minimizes misunderstandings and ensures that everyone involved is working toward the same visual goal. A strong mood board can even help you make faster decisions throughout the planning process, as it serves as a constant reference point.
In essence, a wedding mood board is more than just a collage of pretty images; it is a strategic planning tool that brings clarity, consistency, and creativity to your wedding journey. By thoughtfully defining your style, curating inspiration, and refining your choices, you create a visual blueprint that guides every detail of your celebration. The result is a wedding that feels intentional, cohesive, and uniquely yours.
As much as Your mood board is a living document. It’s okay if it evolves slightly as you find your venue or pick your outfits, but try to finalize it before you start signing major vendor contracts.