How to Join Nyom Planet as a Wedding Vendor: A Step-by-Step Guide
Are you a wedding vendor looking to expand your reach and connect with potential clients? Nyom Planet offers a fantastic opportunity for you to showcase your services. Here’s a comprehensive guide on how to join Nyom Planet as a wedding vendor.
1. Visit the Nyom Planet Website
Start by navigating to nyomplanet.com in your preferred web browser.
2. Sign Up as a Vendor
Click on the menu button located at the top right of the homepage.
Select "Become a Vendor" from the menu.

3. Register as a Service Provider
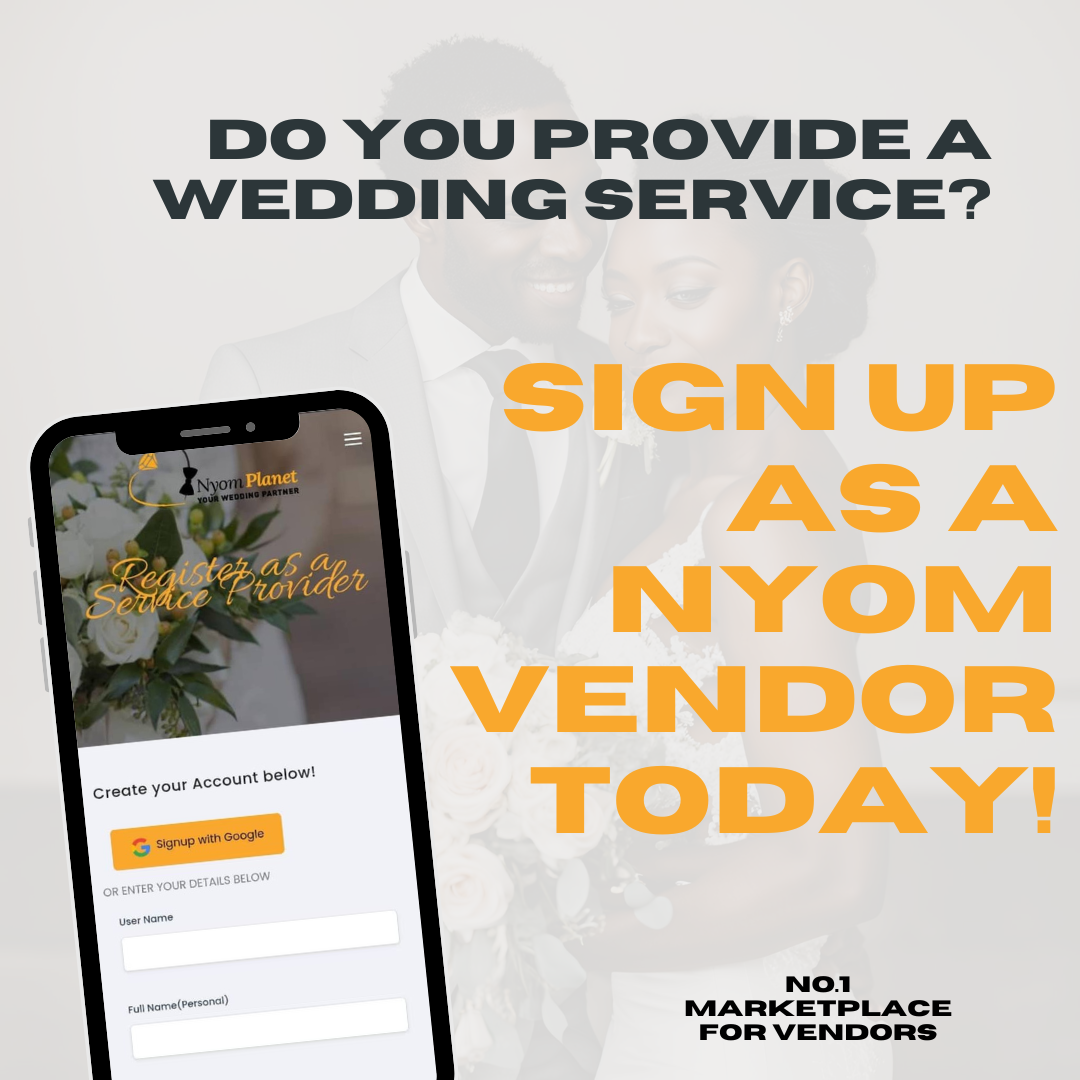
You’ll be directed to the registration page. Here, you can either sign up using your Google account by clicking "Sign Up with Google" or manually enter your details. For manual registration:
Username: Enter a suitable username, e.g., “testingvendor.”
Full Name: Input your full name.
Email Address: Provide your email.
Phone Number: Enter your telephone number.
Password: Create and confirm your password.
Complete the reCAPTCHA verification and click "Register."
4. Verify Your Email
Once registered, you’ll receive an email to verify your address. Click on the verification link in the email to activate your account. If you don’t receive the email, you can request another one.
5. Set Up Your Vendor Profile
After verifying your email, you’ll be redirected to your dashboard. Here’s what you need to do next:
Check if Your Service is Already on the Platform: If your service is already listed, enter the code and service name provided. If not, proceed with creating a new listing.

Enter Business Details:
Business Name: E.g., “Serene Gardens.”
Category: Select appropriate categories (e.g., Venue, Food).
Contact Information: Provide your telephone number, WhatsApp number, website, and a separate email if applicable.
Location: Choose your location from the available options.
Social Media Handles: Enter any relevant social media links.
Physical Address: Add a detailed address (e.g., “Ntinda Complex, Block A, Level 2”).
Business Description: Write a comprehensive description of your services.
Upload Business Image: Choose an image that represents your business.
Upload Required Documents: Provide a national ID, business certificate, or trading license. Ensure the file is under 2 MB.
6. Create and Manage Packages
Once your business is registered:
Add Packages: Define the different packages you offer (e.g., large garden spaces). Specify the type (full package or additional), price, capacity, and description.
Package Details: Include any amenities or special features included in the package.
7. Activate and Use Credits
Upon successful registration, you’ll receive 100 free credits. Use these credits for:
WhatsApp Leads: Activate WhatsApp for direct client communication. Credits are deducted per message received.
Priority Placement: Ensure your service appears among the top results in your category.
Advertisements: Run ads on various pages of the platform. Choose the duration and placement to spend your credits effectively.
Vendor Spotlight: Optionally, you can request a spotlight for additional visibility.
8. Explore Subscription Plans
Consider the basic and premium plans:
Basic Plan: Includes features like WhatsApp activation without credit deductions for messages. Provides priority placement and allows up to 20 pictures.
Premium Plan: Costs 300 credits per month and offers enhanced visibility, additional ad spots, and the ability to upload more than 20 pictures.

9. Monitor and Manage Your Account
You are able to view your transaction history to track how credits are used. Continue to expand your offerings and manage them from your dashboard.
If you find it easier to follow along with a video, we’ve got you covered. Click here to watch our step-by-step video tutorial that covers the same information as this guide. By following these steps, you can successfully join Nyom Planet as a wedding vendor and take full advantage of the platform’s features to reach new clients and grow your business.


